Construction Photos
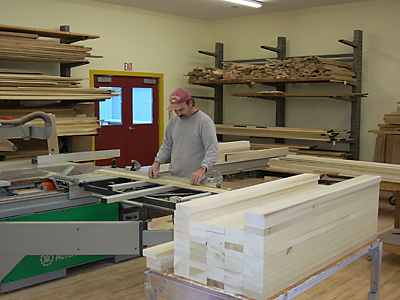
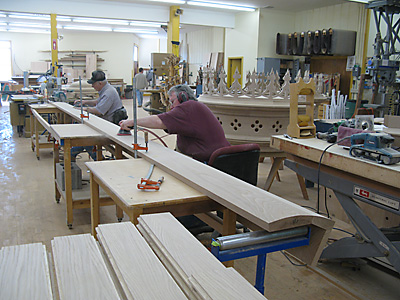
Windchests and pipes are usually the first parts of an organ to be made. Here Kent cuts bars for the slider windchests.
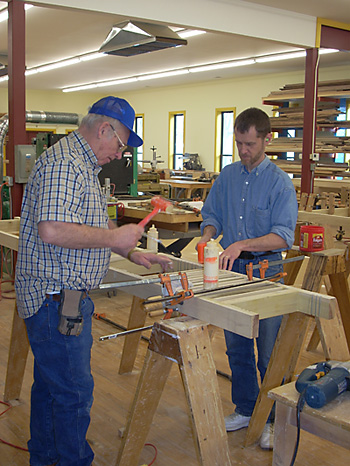
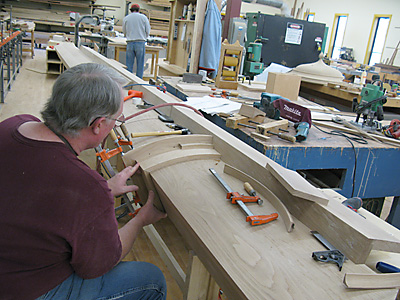
Lyndon and Jim are gluing the individual bars in a small slider windchest.
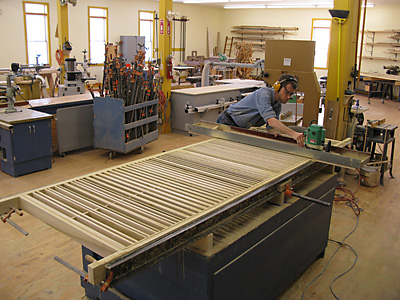
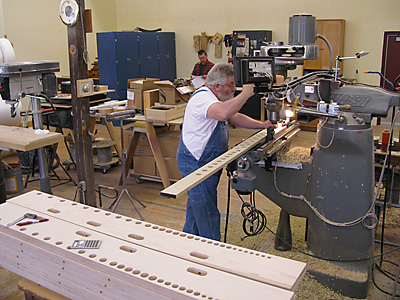
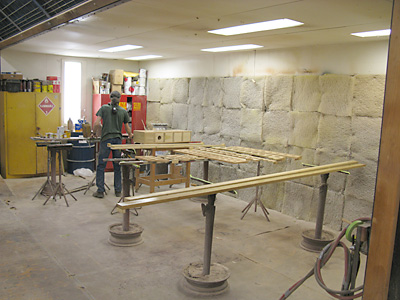
Jim uses a router and a special jig to plane a windchest grid.
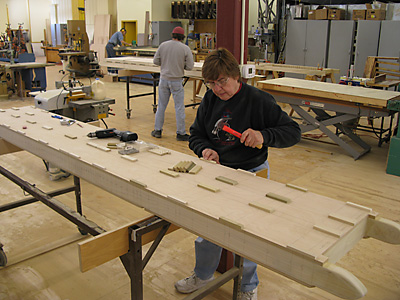
Meridith attaching bearers to a small slider windchest. These are shims that hold the toeboards above the windchest with enough space in between for the slider to run.
The sliders are being fitted to this winchest. You can see how they run between the bearers.
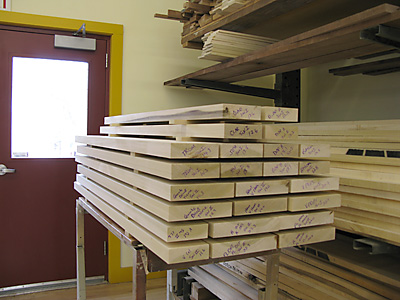
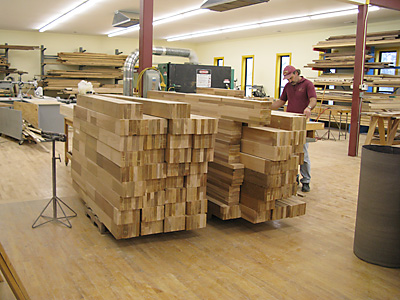
A stack of toeboards roughly cut to size. The pipes will stand on these.
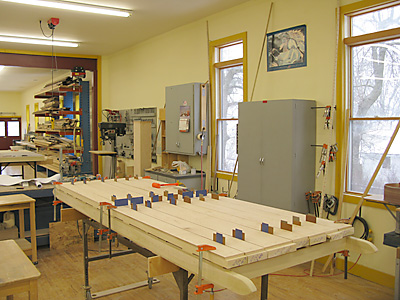
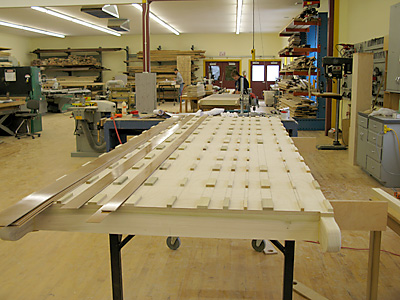
The toeboards are then laid out on the windchest.
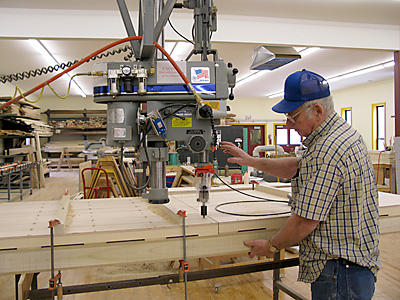
Lyndon drills holes for the screws that hold the toeboards to the windchest grid.
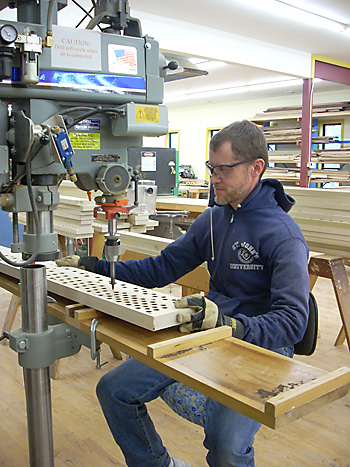
Jim is countersinking the toeholes for some of the 5,000+ pipes.
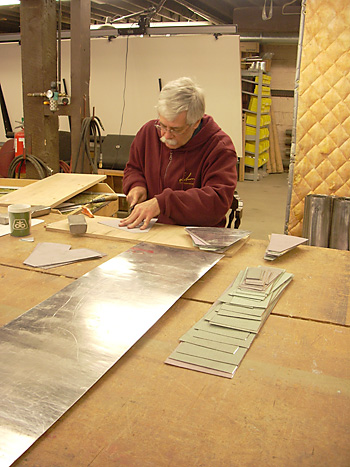
Inside the windchest are boards on which are mounted special magnets that open the main windchest valves. Incorporated into these boards are additional small “relief” valves that relieve the pressure against the main valve, allowing it to open more gracefully. Art is drilling the many holes in these boards.

Some of the completed magnet boards.
The magnet boards being wired before being installed in the slider windchests.

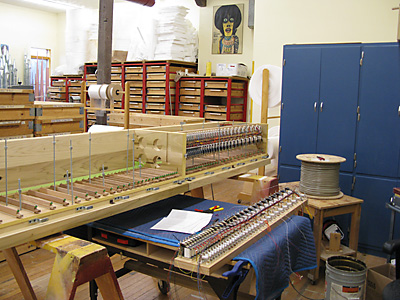
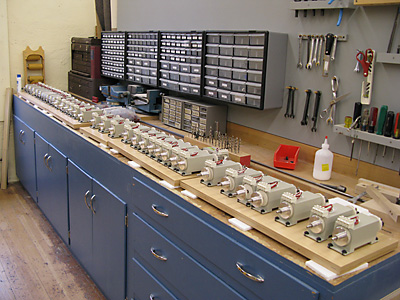
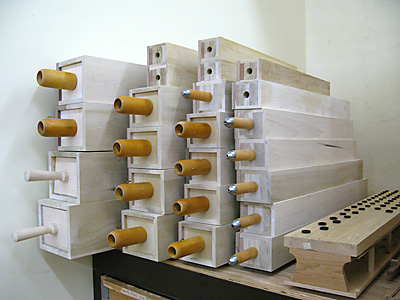
Bob Savage surrounded by five electric slider windchests, now fitted with pulldown and relief magnets.
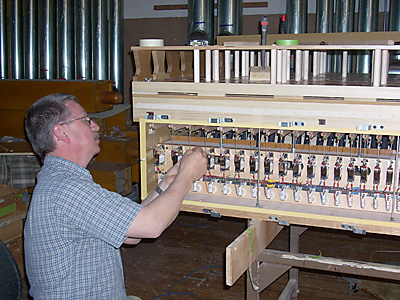
Adjusting the pulldown magnets and testing the slider windchests.
These are the solenoids that move the windchest sliders.
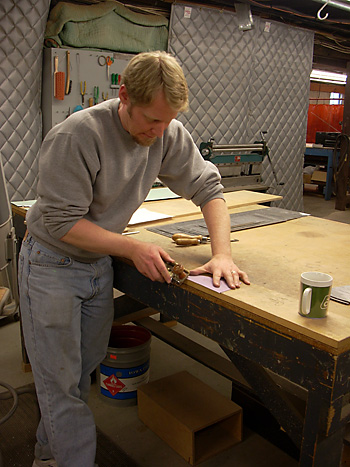
John uses a block plane to bevel the edges of a piece of spotted metal that, after rounding and soldering, will become the body of a pipe. The metal is painted with a material that resists solder; the planing exposes a bevel of metal to which the solder will adhere. The paint is washed off when the pipes are finished.
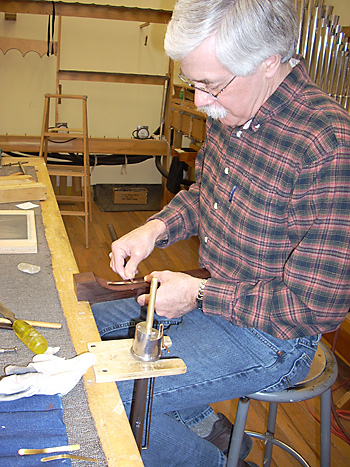
Bill scores the foot of a pipe to receive a soldered-in lower lip.
John scribes a tuning scroll in low C of the Positive Gemshorn 16', which is mitered.
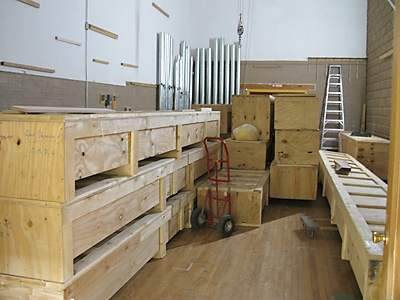
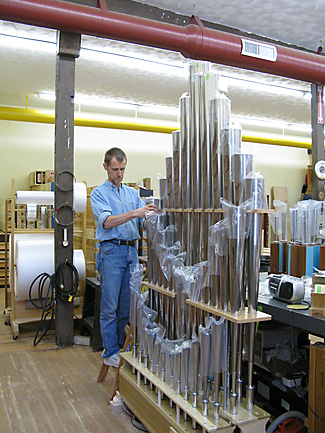
These crates hold the tin façade pipes, which were made by Carl Giesecke & Sohn of Göttingen, Germany. There are two 16' and two 8' stops in the façade.

There are many tin façade pipes—103 in all, plus another 122 tin horizontal trumpet pipes.
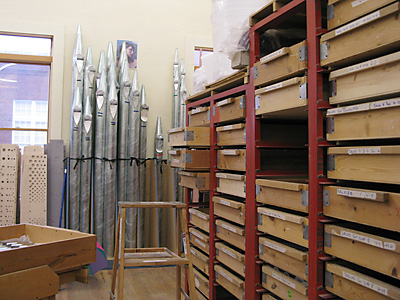
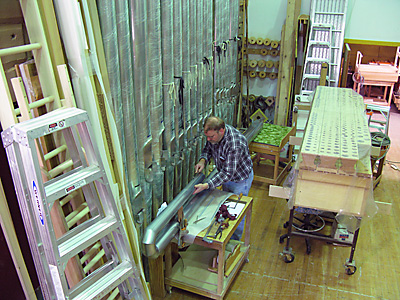
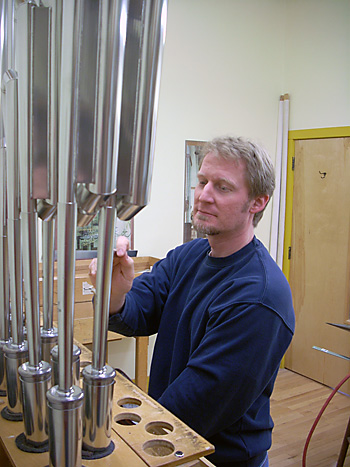
Large bass pipes are stored upside down so their toes won't be flattened by standing on the floor. Smaller pipes are stored in special trays, which are held in the racks seen on the right.
Of course, the organ has pipes of wood, too. These have been completed and are waiting to be voiced, after which they will be stained and lacquered. Ordinarily, interior pipes aren’t stained, but these particular pipes stand at impost level on the exterior of the Gallery organ, functioning as façade pipes for the side of the case. (There are conventional tin pipes for the façade on the front of the case.) We often put larger wood pipes outside the case, where they have more room to speak and don’t cause all the case doors and panels to rattle!

Randy is making the supporting steel framework that will allow the console to be movable.
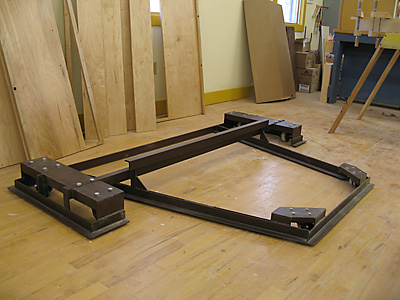
The console framework, painted and fitted with casters.
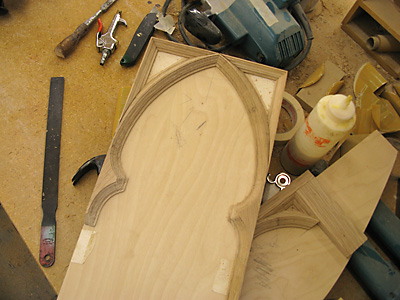
Randy is making the Gothic tracery that will be a part of the console.

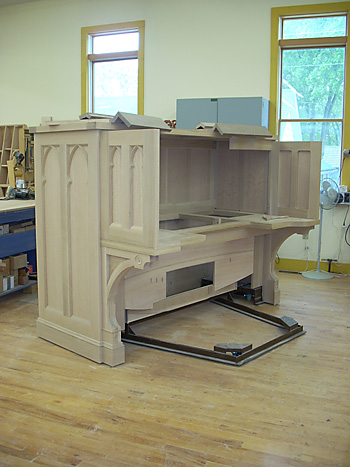
The console side and bracket under the keydesk.
The console on its dolly.
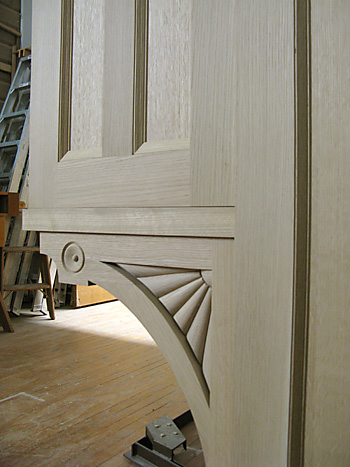
A decorative “fan” carving in the console bracket.
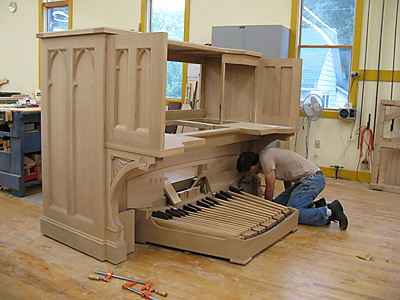
Randy fits the pedalboard to the console.
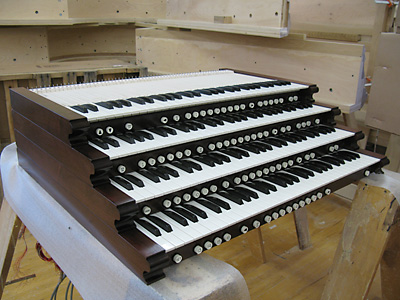
The keyboards before they are fitted to the console.
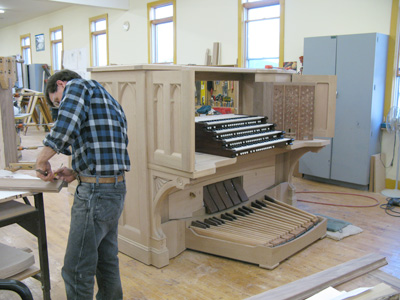
Randy installing the keyboards.
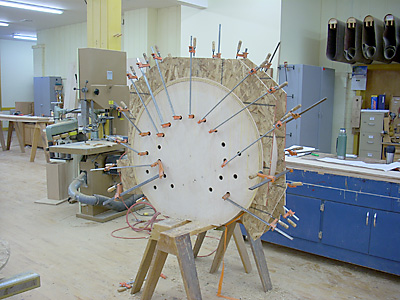
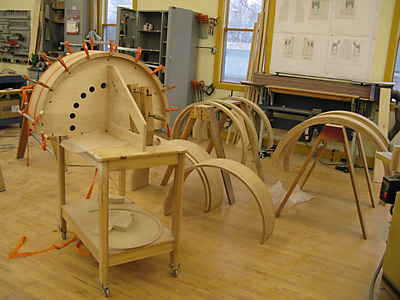
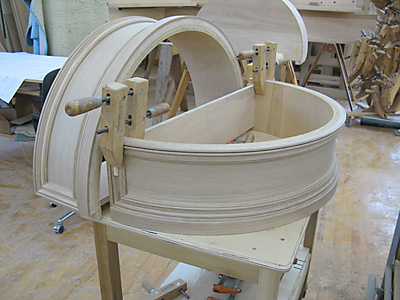
Special forms have to be made to laminate the curved members for the large case towers. Here, plywood pieces are glued that will serve as the base or support for the solid wood mouldings.
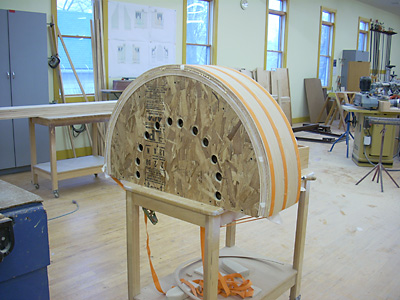
Smaller-radiused towers have similar forms, which are here being glued with band clamps.
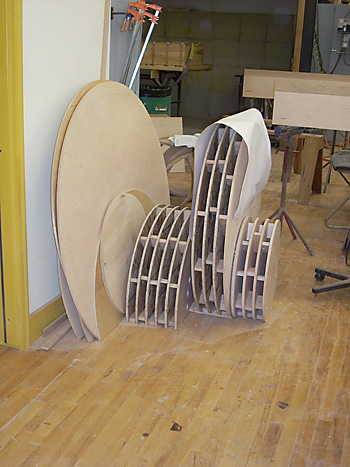
A few of the forms.
There are a lot of round pieces...
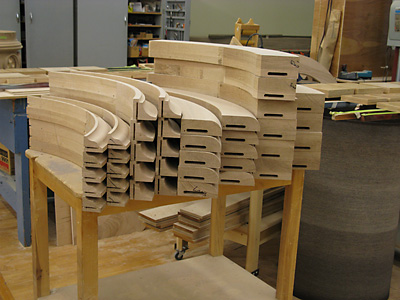
...many, many round pieces...
...more than you can imagine.
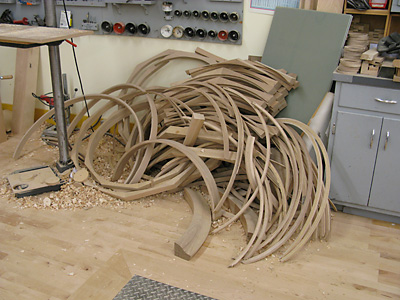
A pile of round detritus, which will probably make its way into a sculpture.
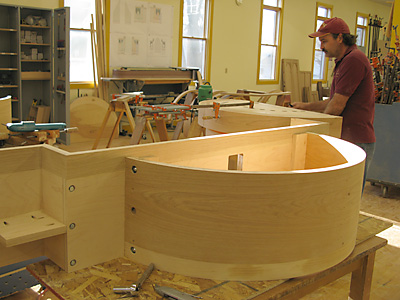
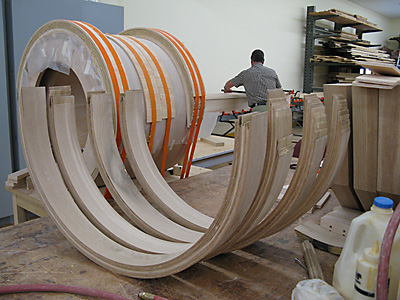
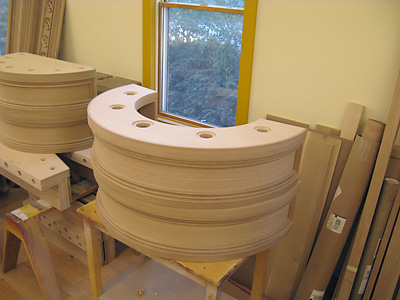
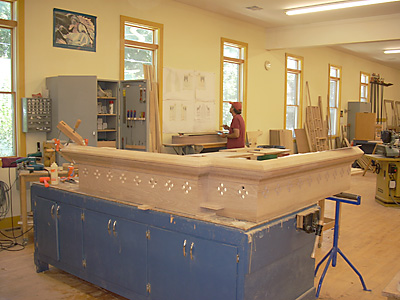
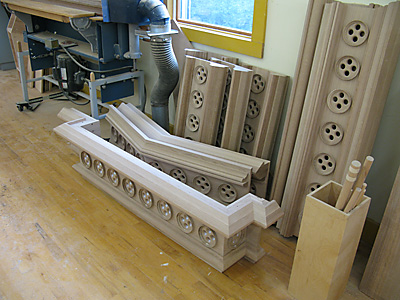
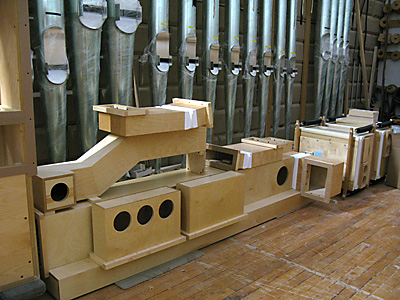
Kent constructing the parts of the impost that incorporate the round towers.

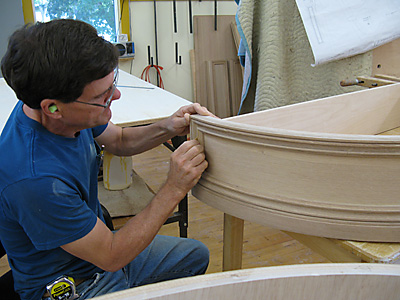
Mouldings are added, layer by layer.
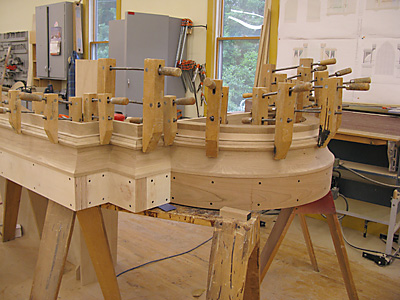
It’s hard to tell at this point, but the imposts are upside down during construction. The component parts of most mouldings are generally larger at the top of the impost, or the bottom of the assembly as you see it here; fitting the moulding is easier when they're (temporarily) on the bottom.
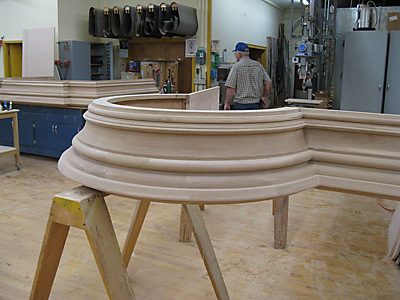
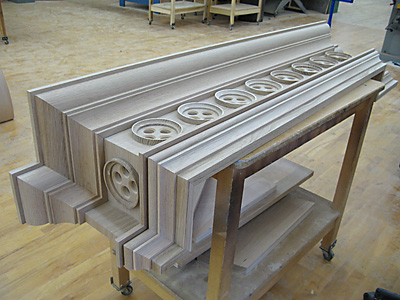
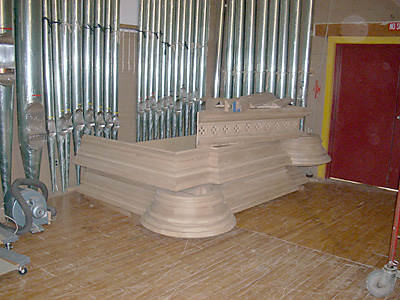
Finally, the imposts are done...
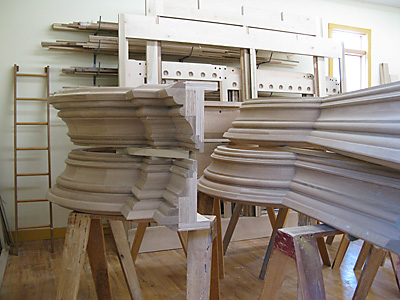
...and set aside until the organ is assembled in the erecting room.
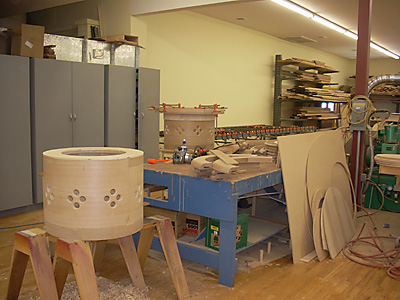
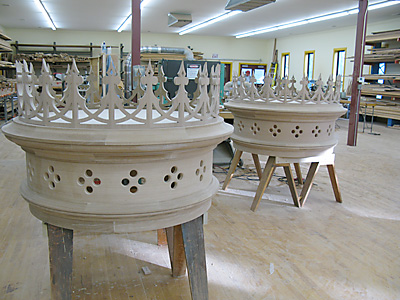
Work moves on to the upper parts of the case. These are the crowns of the main case towers before any mouldings are applied.
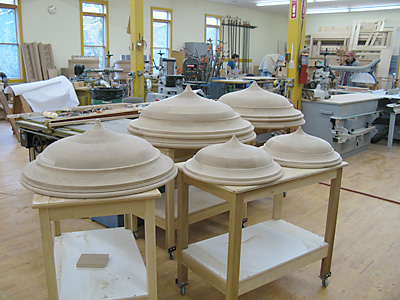
Large pendants will be fitted to the underside of the case towers. The largest of these turnings are almost 48" in diameter.
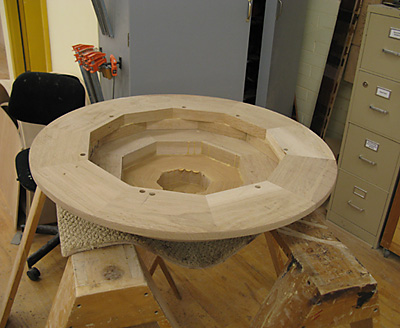
Rather than being glued up from solid wood, the pendants are made like large bowls, with many smaller mitered pieces.
Mouldings are applied to the woodwork at the base of the round towers.
Sanding—the final touch.
The finished toeboards for the round towers.
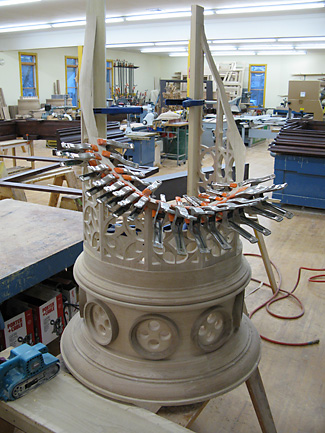
Pipeshades being fitted to the crown of one of the round towers.
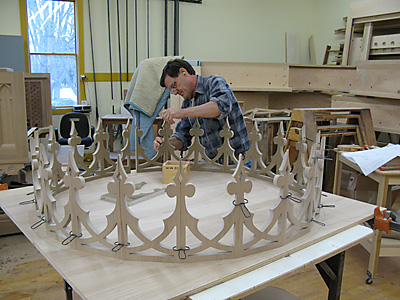
Randy miters the cresting at the top of the largest towers.
The cresting fitted to the tower tops.
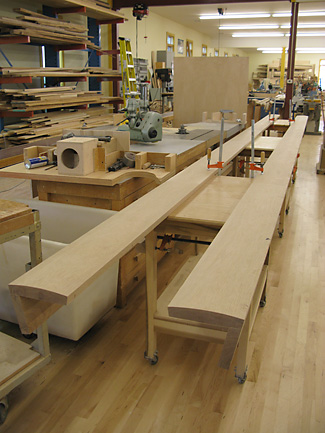
Large posts support the tower tops above the toeboards. These are 21'-6" long.
One side of the posts has the same radius as the round tower.
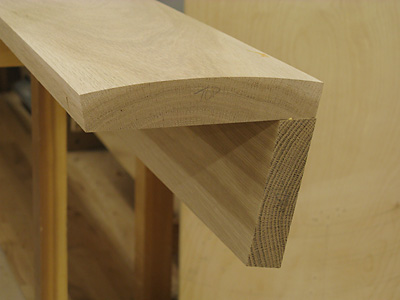
Kent sands one of the tower posts.
A closeup of the mouldings he’s applied.
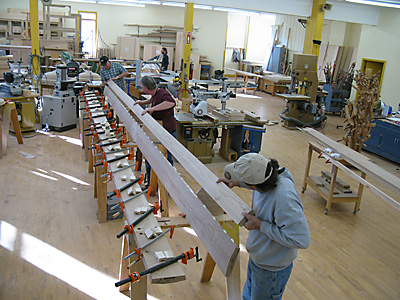
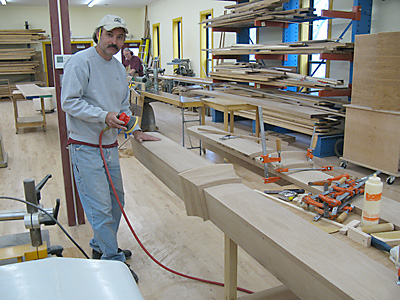
Lynn, Pat and Kent prepare to glue up parts of one of the largest tower posts.
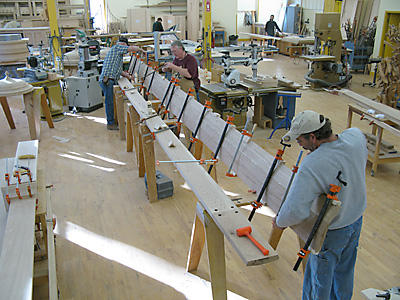
This post, one of two, is about 25' long.
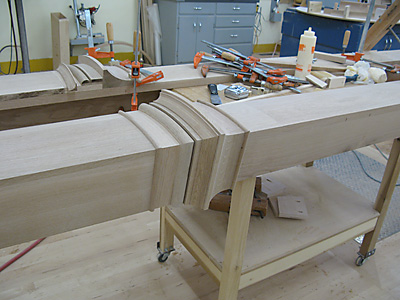
The glued-up post is sanded to a smooth radius...
...and mouldings are fitted to it.
This is one of the gallery organ cornices.
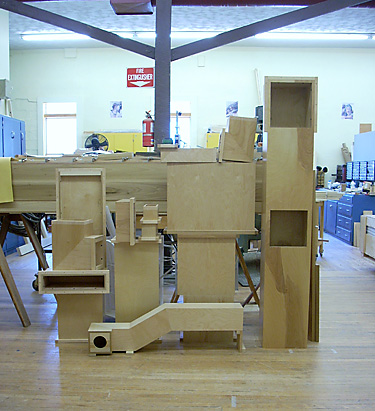
Casework waiting to be assembled when the organ is set up in the erecting room.
These are the imposts for the gallery organ, with the cornice for one on top.
Most of the windlines throughout the organ are made of wood. Here you see an assortment of pieces that will connect the blowers to the reservoirs, or the reservoirs to various windchests.
There’s quite an assortment.
The organ has four enclosed divisions with a total of 198 swell shades. These are some of the glued up blanks that will be resawn into shades of butcher-block construction.
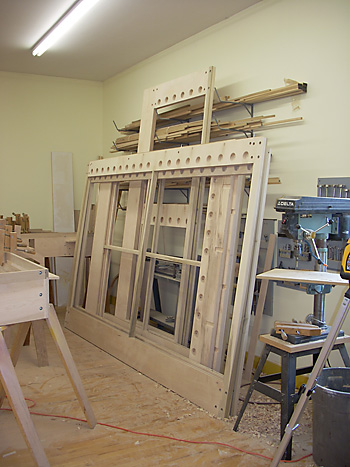
The frames for several swell shutter fronts.
All interior wooden parts are finished with two coats of lacquer.
Racking reed pipes.
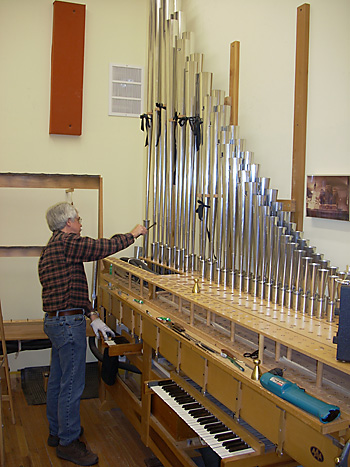
John voicing the Swell Hautbois.
Bill curves a tongue from the Swell Basson 16'.
Tuning the same note to check the result.